Mail Exchanger Options Explained:
Unless you have a particular setup that needs these explicitly stated, you are able to select "Automatically Detect Configuration". Please note, however, this setting can cause inconsistencies - it would always be recommended to explicitly select one of the alternative options.
- Local Mail Exchanger: Handle all mail sent from the server to this domain locally; i.e., deliver it to the mailbox that is on the server rather than remote mail service.
- Backup Mail Exchanger: Handle all emails like a remote mail exchanger unless the remote service is unreachable, in that case, handle it like a local mail exchanger. (For example, if you have Google as the domain's mail service, send the emails to Google’s servers like the remote mail exchanger. If, for some reason, Google’s servers are inaccessible, then deliver the mail locally, as in the local mail exchanger option.)
- Remote Mail Exchanger: Handle all mail sent to this domain remotely, i.e., deliver it to the mail service determined by the domain’s MX record. (For example, if you have Google set up as your mail service, deliver the emails to the mailbox on Google’s servers rather than your local mailbox.)
If you are using our servers for emails (even whilst using SpamExperts), the recommended setting is 'Local Exchanger'.
What is Email Routing?
Email routing is a feature in cPanel that allows you, as a domain owner, to choose how your incoming Email messages are processed, or routed, by the Email server.
This can either be your hosting provider’s local Email server or the Email server of your chosen Email provider, e.g. G Suite, Office365 or others.
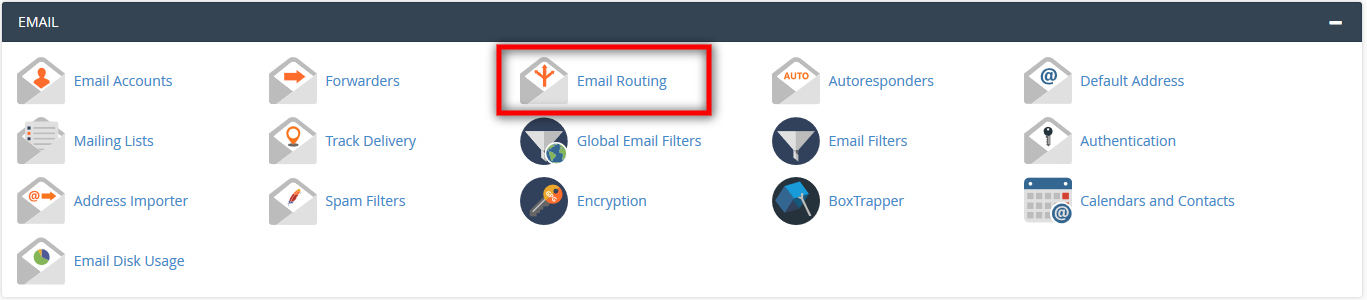
How to change Email routing in cPanel
1. log in to your cPanel account.
2. Navigate to the Email section and click on Email Routing.
3. From the Domain section, choose the domain you wish to apply these settings for. If you only have one domain, it will be selected automatically.
4. From the Configure Email Routing section, you can see the four available options. Click on the small arrows for each one to read each description.
5. Choose the desired routing option from the list and click on Change to enable it.
If you still have questions, please get in touch with us.